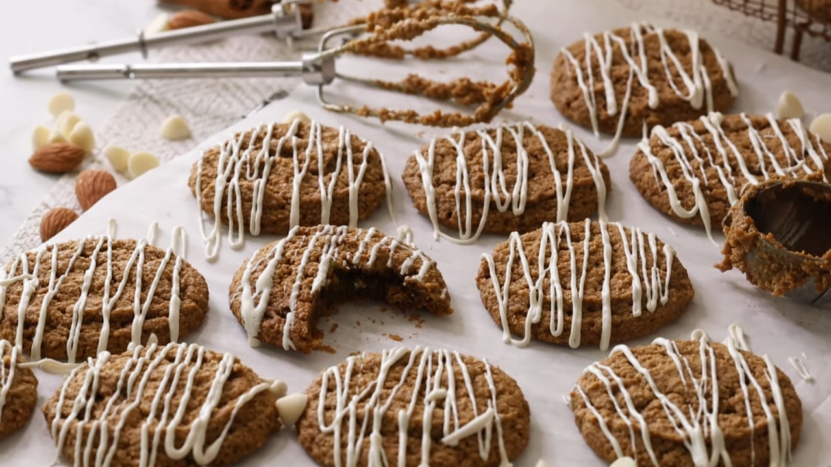
I’m thrilled to share with you my latest kitchen adventure: crafting the perfect Gluten-Free Ginger Molasses Cookies. I’ll give it to you straight – these cookies are the real deal: crispy on the outside, soft and chewy on the inside, and packed with a flavor punch that could knock out your grandma’s traditional recipes.
Also, make sure to check out another of my recent gluten-free recipes.
Now, let’s get started with this one.
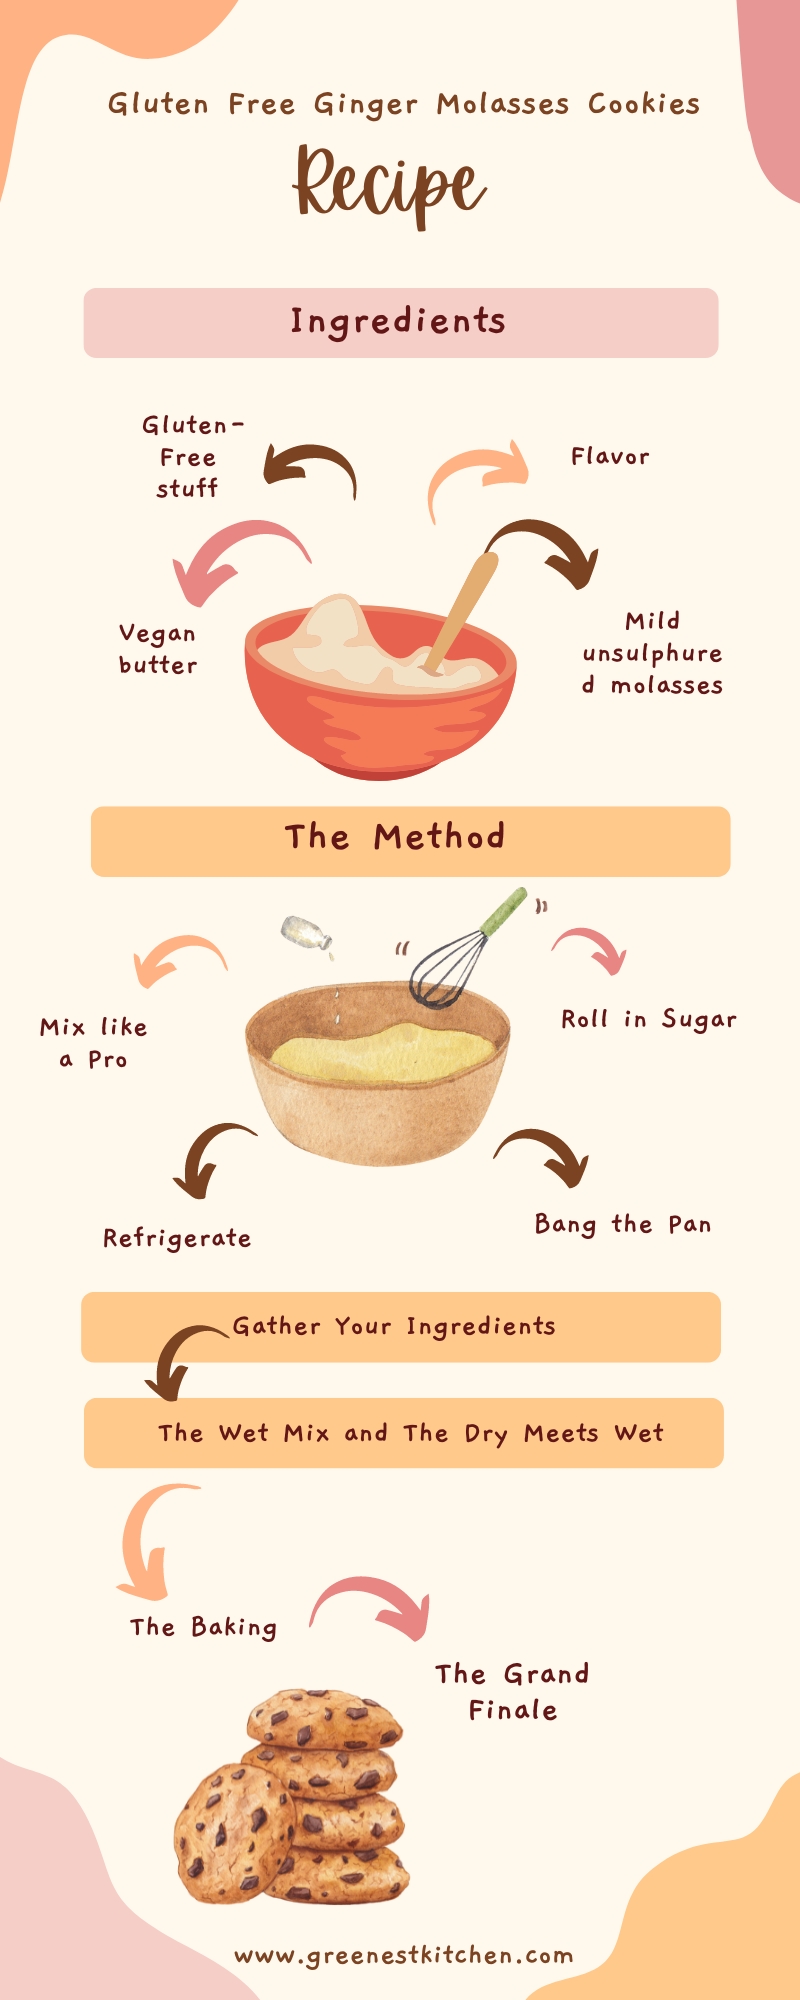
Ingredients
- Flavor: Ground ginger, cinnamon, nutmeg, and a pinch of cloves.
- The Wet Stuff: Mild unsulphured molasses (not the blackstrap variety, please).
- The Gluten-Free Stuff: A specific shoutout to King Arthur Measure for Measure gluten-free flour for not making these cookies taste like cardboard.
- The Dairy Problem: Got issues with dairy? Vegan butter has your back.
Detailed Instructions
- Gather supplies – You’ll need flour, baking soda, salt, spices, butter, sugar, eggs, vanilla, and molasses.
- Prep your dry mix – In one bowl, whisk together the flour, baking soda, pinch of salt, nutmeg, ginger, and cinnamon. Set it aside for now.
- Make your wet mix – In a separate bowl, use an electric or hand mixer to cream the softened butter and brown sugar. Beat until light and fluffy.
- Add the wet extras – To the butter mixture, mix in the egg, a splash of vanilla, and molasses. Beat it all smooth.
- Combine wet and dry – Add half the dry mix to the wet. Mix until just blended. Then add the rest, mixing gently after each addition.
Baking
- Grease up that pan – Just a light coatin’ of butter or non-stick spray on the baking sheet. This’ll stop them cookies from stickin’ like glue.
- Roll in sugar – Scoop dough balls about 1-1/2 tsp each. Roll ’em in granulated sugar to coat all over. Think of it like a spa day for your cookies!
- Space ’em out – Place the balls on the pan, leaving about 2 inches between each. Give ’em room to spread out while bakin’.
- Bake and watch closely – Pop the pan in the oven for 9-11 minutes. Keep an eye so they don’t get too dark. You want the edges just light golden brown.
Looking for the best pans for scrambled eggs? Consider ones with a non-stick coating for effortless cooking and cleaning.