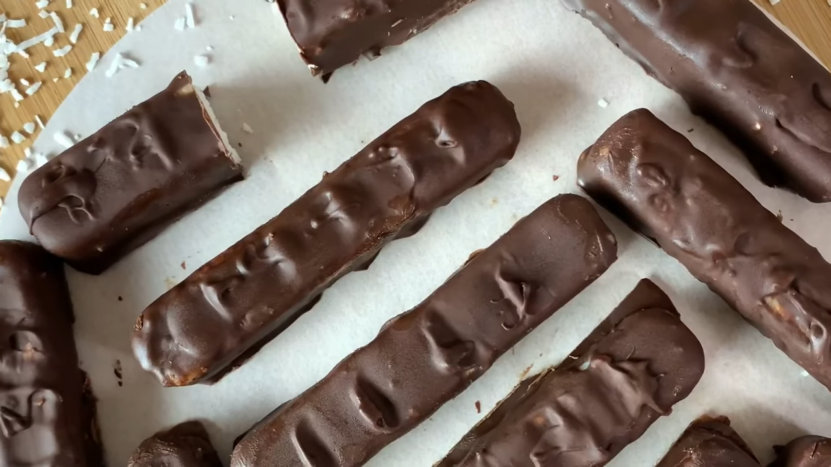
Recently I’ve stumbled upon a delightful treat that’s perfect for anyone with a sweet tooth who’s also mindful of what they consume. Today, I want to share with you a simple recipe for making Vegan Bounty Bars.
These bars are not just a guilt-free indulgence but are bursting with the creamy, coconutty goodness we all love about the traditional Bounty bars – minus the dairy! Since the first time I made these, they’ve been one of my family’s favorites.
Ingredients
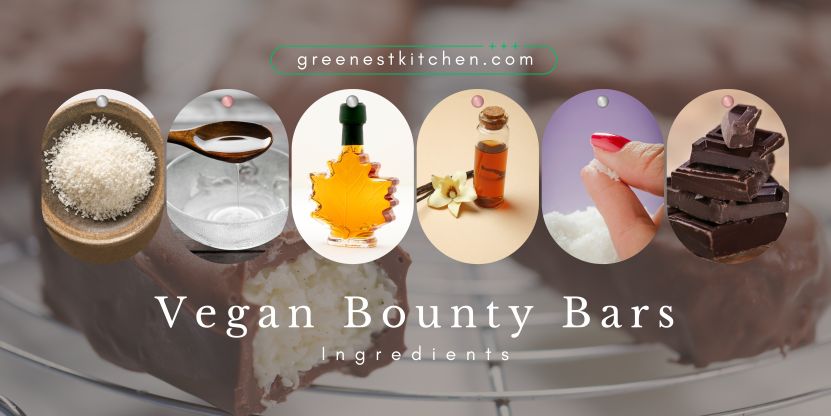
To start, you’ll need the following ingredients:
- 2 cups shredded coconut: Preferably unsweetened, to keep it healthier.
- 1/4 cup coconut oil: This binds our coconut together and adds to the creaminess.
- 1/3 cup maple syrup: You can change this according to your personal preferences.
- 1 teaspoon vanilla extract: For that hint of vanilla that complements coconut so well.
- 1 pinch of salt: Just a pinch to enhance all the flavors.
- 200 grams vegan dark chocolate: Choose a high-quality chocolate for the best taste and texture.
How to Make These
1. Mix the Coconut Base
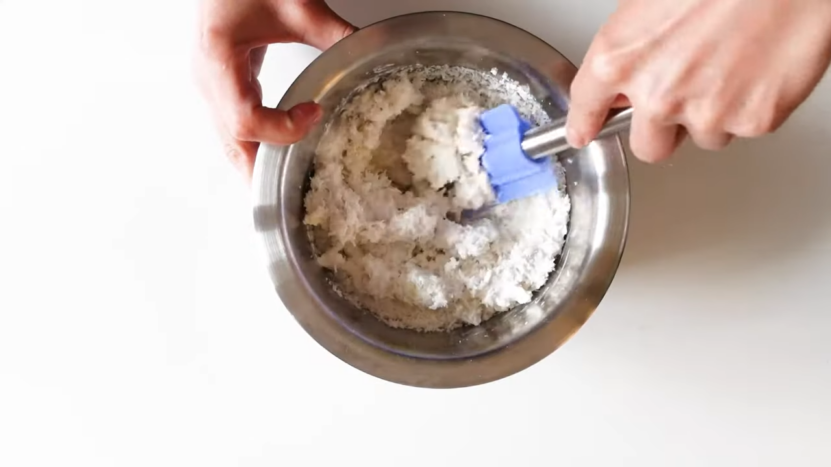
In a mixing bowl, combine the shredded coconut, coconut oil, maple syrup, vanilla extract, and a pinch of salt. Mix these ingredients until they’re well combined and the mixture holds together when squeezed.
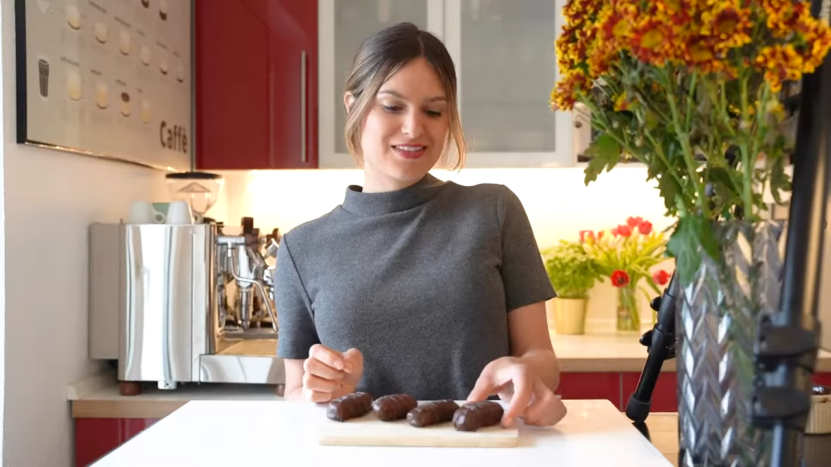
2. Shape the Bars
Line a baking tray with parchment paper. Take spoonfuls of your coconut mixture and shape them into small rectangular bars. Place each bar on the parchment paper. They don’t have to be perfect; their rustic charm is part of the appeal!
3. Freeze the Bars
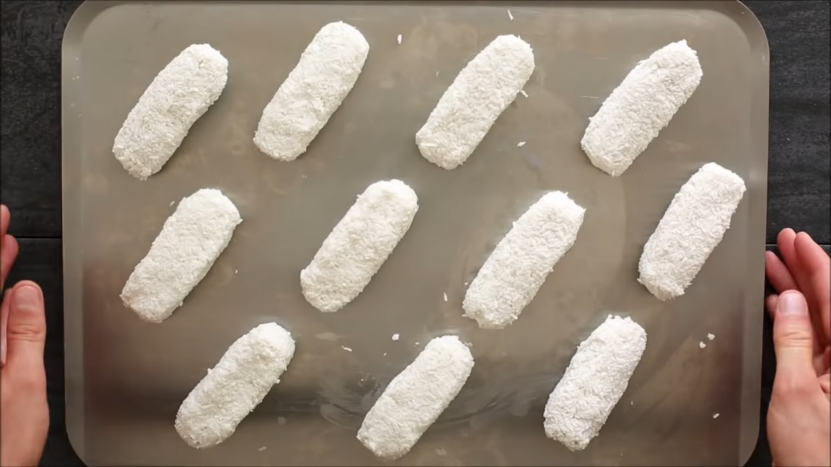
Once all your bars are shaped, freeze them for about 1 hour or until they are firm. This step is crucial as it makes the coating process smoother.
4. Melt the Chocolate
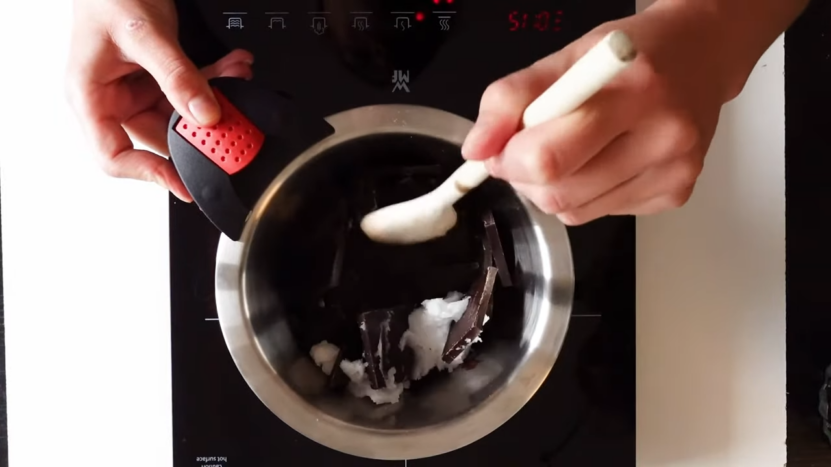
While the bars are freezing, melt your vegan dark chocolate. You can use a double boiler or microwave for melting. If using a microwave, stir the chocolate every 30 seconds to prevent it from burning.
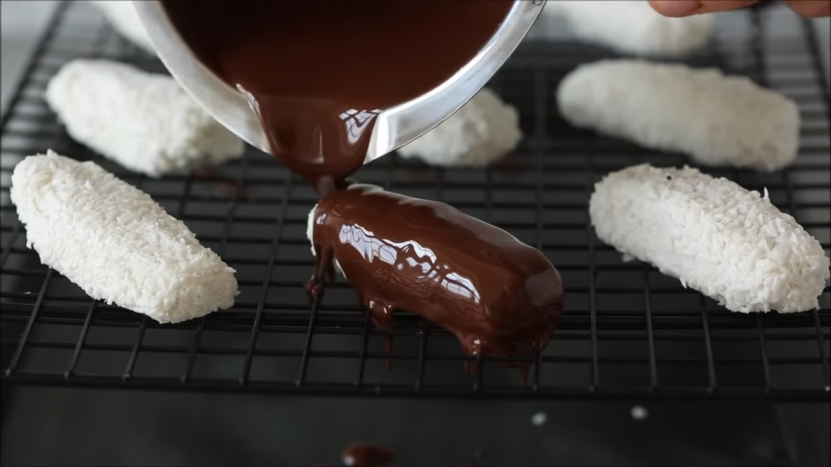
5. Coat the Bars
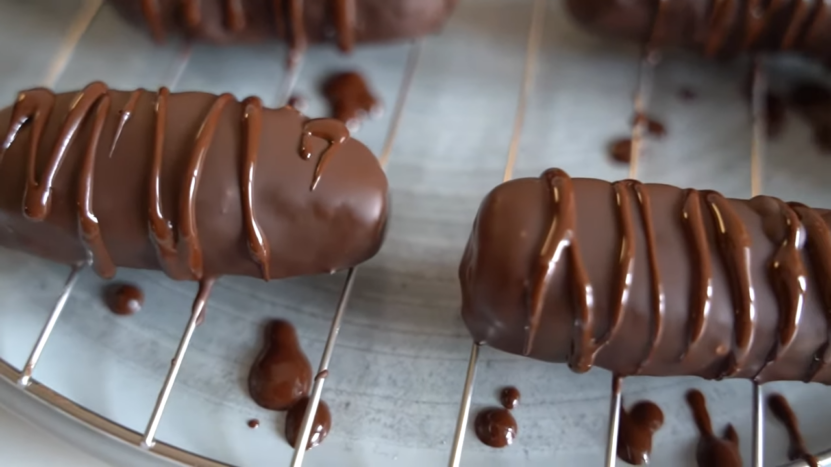
Once the chocolate is melted and smooth, take out your coconut bars from the freezer. Dip each bar into the melted chocolate, ensuring it’s completely coated. Use a fork for this process for the best results, letting any excess chocolate drip off.
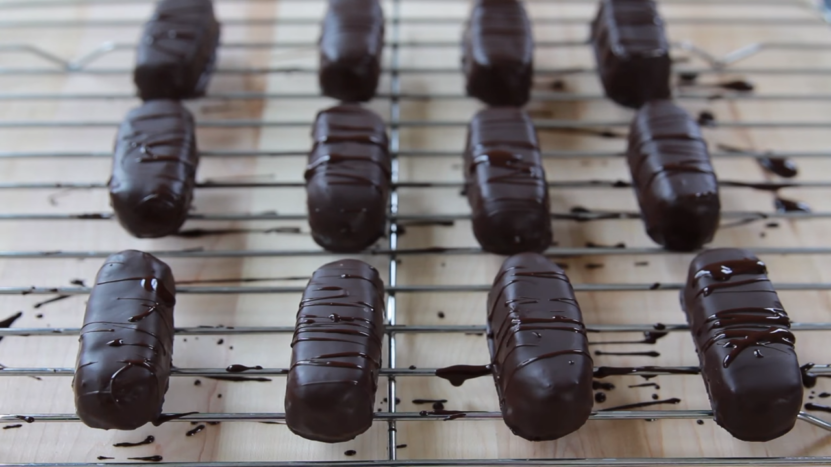
6. Set the Bars
After dipping, place the chocolate-coated bars back on the parchment paper. Once all bars are coated, refrigerate them until the chocolate sets, about 30 minutes.
Why Make Them?
Reduced Sugar
By using natural sweeteners like maple syrup, these bars contain less processed sugar than commercial alternatives. Maple syrup also provides antioxidants and minerals such as manganese and zinc.
No Dairy
Using coconut oil and vegan chocolate eliminates dairy, making these bars suitable for those of you who are lactose intolerant or following a vegan diet. This change reduces the intake of saturated fats found in dairy.
For a similar approach, Emiliy’s gluten and dairy free blueberry muffins recipe employs almond flour and oat milk, ensuring a delicious treat that’s friendly to those with dietary restrictions.
Whole, Unprocessed Components
The simple, unprocessed ingredients like shredded coconut and natural vanilla extract contribute to a cleaner diet, avoiding the preservatives and artificial flavors found in many store-bought snacks. And that’s what we all want, right?
Storage Tips
To ensure that your Vegan Bounty Bars remain as delicious as when you first made them, proper storage is key:
- Always store your bounty bars in the refrigerator. Because they contain coconut oil, they tend to melt at room temperature. Keep them in an airtight container to maintain freshness and prevent them from absorbing other odors from the fridge.
- If you won’t consume all the bars within a week, freezing them is a great option. Wrap each bar individually in plastic wrap and then place them in a freezer-safe zip-lock bag. They can be stored in the freezer for up to 3 months. Thaw them in the refrigerator overnight before enjoying them.
- Keep them away from direct sunlight and any warm spots in your kitchen to prevent melting. Humidity can also make the chocolate sweaty and sticky, which is less appealing.
All in All…
Baking these up always puts me in such a good mood. It is so rewarding when you get to share the treats with friends and family too. I love knowing these bars are full of wholesome ingredients but still totally indulge-worthy.
Mavy’s gluten free ginger molasses cookies are another favorite of mine—they’re just as delightful and perfect for sharing.
Give these a try as soon as you can, you won’t regret it, trust me!